Skip to content
PAY WITH KLARNA NOW AVAILABLE
RATED ★★★★★ ON TRUSTPILOT
FIRST 3 SAMPLES FREE

Your Basket

Your basket is currently empty

Sale

Aruba Oat Cream Gloss Tile

Size: 150mm x 50mm
Product code: RTARU12
Select Colour: Oat Cream
Order Tiles
Order Samples
Select Size:

£0.37

£0.37

Not sure how many you need? Try our calculator
In stock

Estimated delivery: 3-5 working days

Aruba Oat Cream Gloss Tile

Register to receive a notification when this item comes back in stock

Product Overview

Aruba Oat Cream is a stunning porcelain gloss tile, perfect for creating an incredibly classy and textured interior design feature. With its charming metro mini brick design, this Spanish-made tile brings a touch of elegance to any space and is a real manager favourite in our stores, due to it's versatility and excellent quality for the price. Available in both gloss and matt finishes, and in a variety of colours, this beautifully glazed tile is an ideal choice for stylish and versatile interiors.

Please note samples of Bricks and Zellige are full size not cut tiles.

Gloss
Easy to Clean

installation Tips

Step 1: Prepare Your Surface.

Clean the Surface Ensure the Surface is clean, smooth, and free from dust or grease.

Fix Imperfections: Fill any cracks or holes with a wall filler and let it dry completely.

Prime the Surface: For porous surfaces, apply a primer to ensure the adhesive sticks well.

Step 2: Plan Your Layout

Measure and Mark: Measure the wall and mark a horizontal line at the base using a level. This will serve as your guide.

Dry Lay Tiles: Lay tiles on a flat surface to decide on the pattern and check if cuts are needed.

Plan for Cuts: Ensure that cut tiles are placed in less noticeable areas, like corners and the ends of walls and floors.

Step 3: Apply Adhesive and Fix Tiles

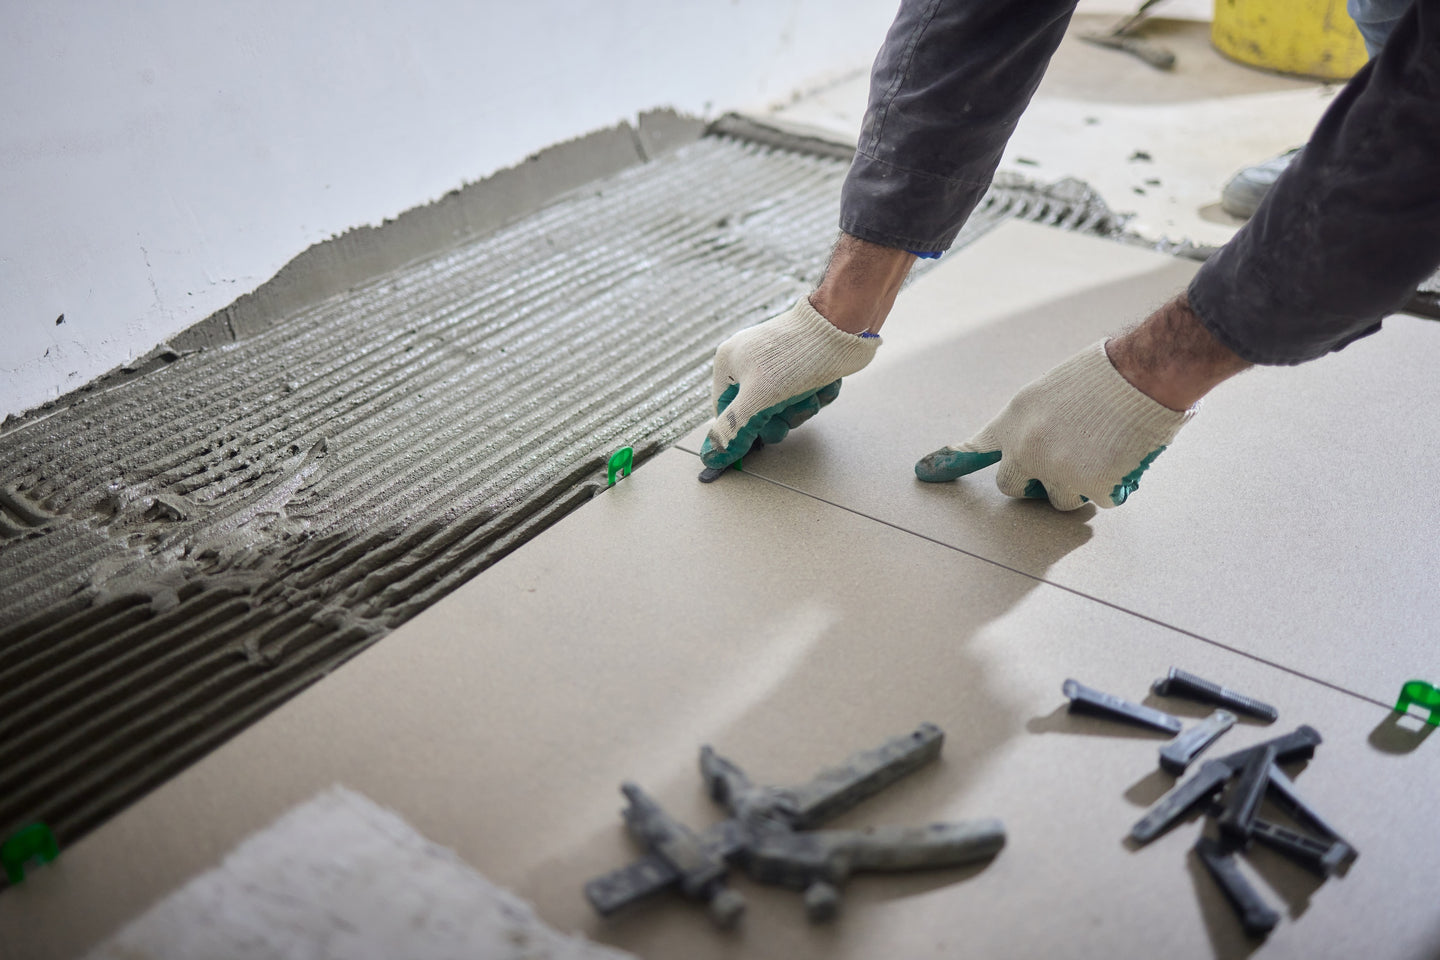
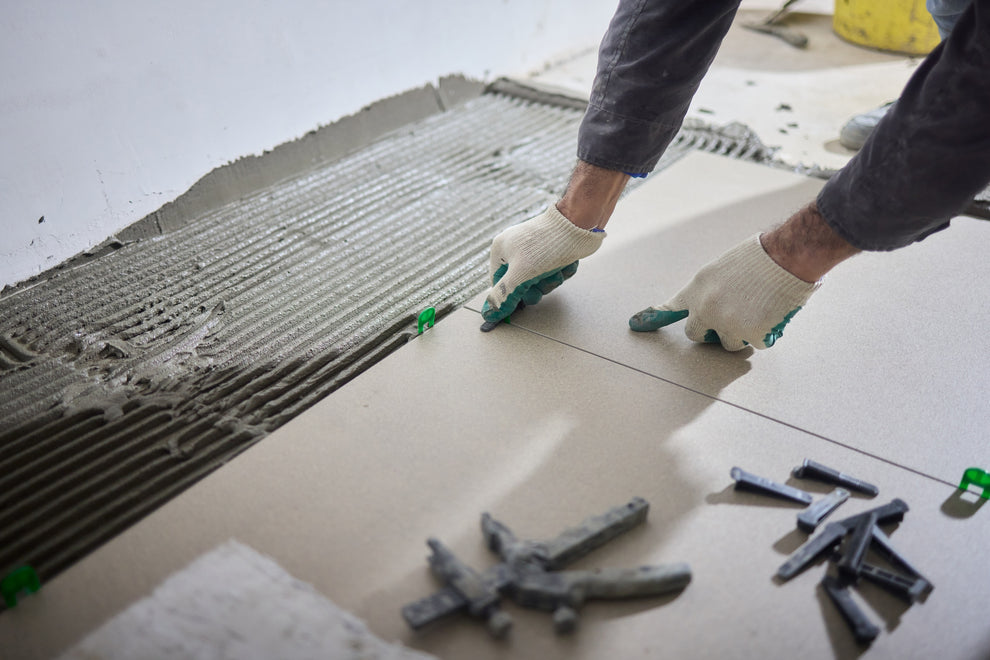
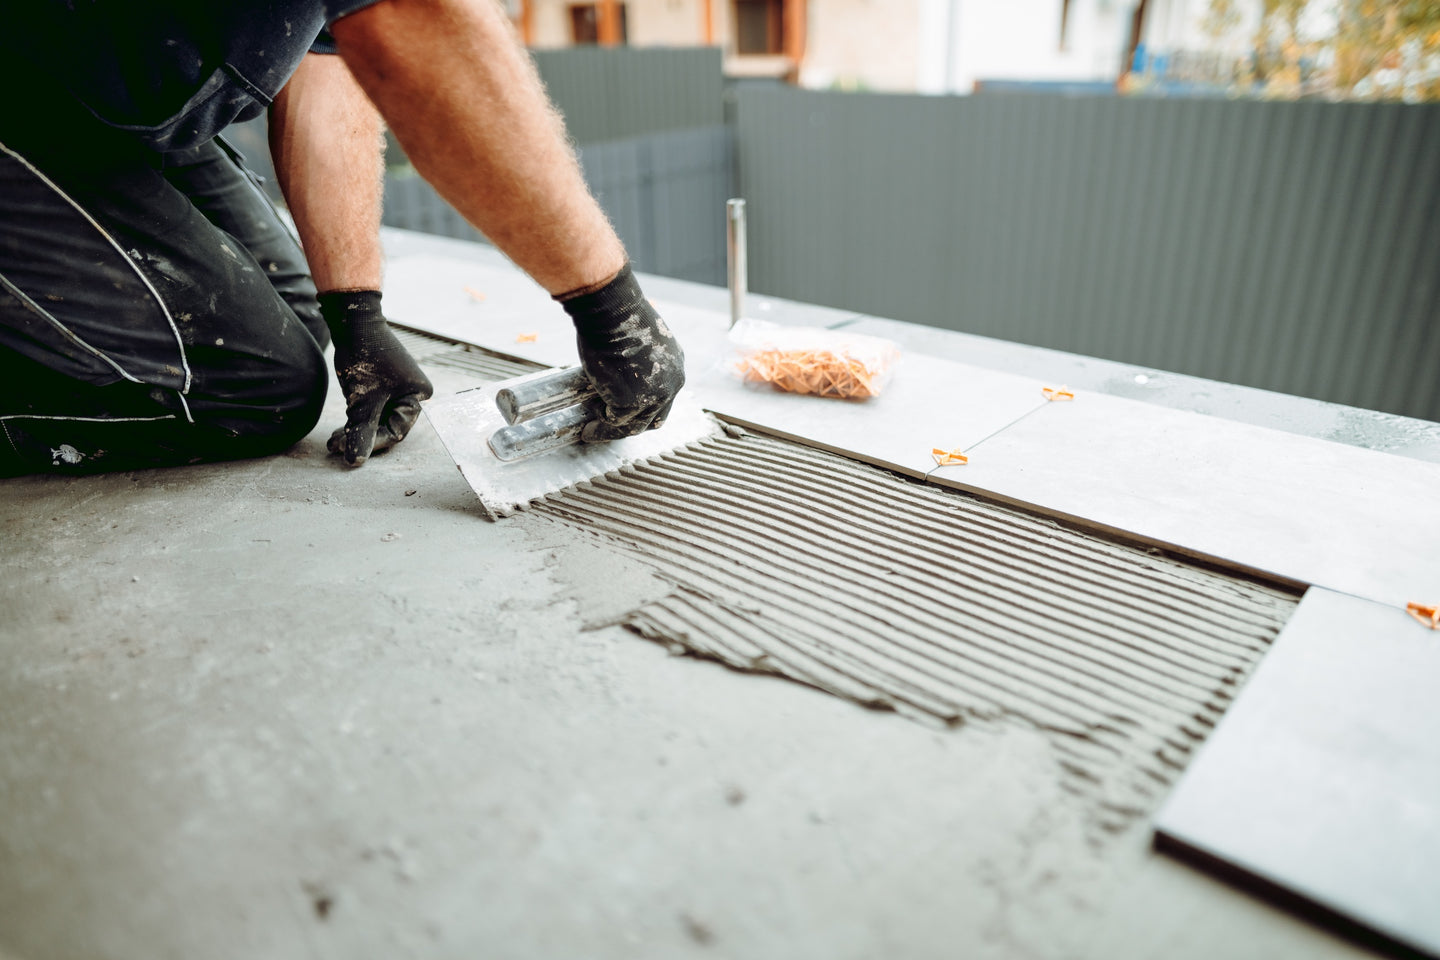
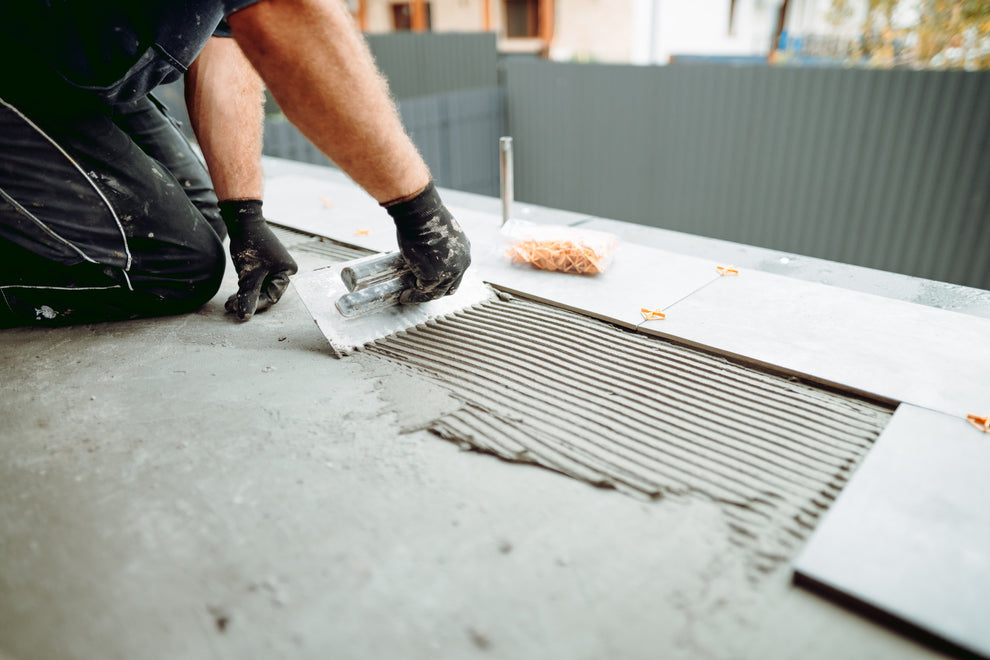
Mix and Apply Adhesive: Use a notched trowel to spread tile adhesive on a small section of the wall.

Place Tiles: Start from the bottom centre and press tiles firmly into the adhesive.

Use Spacers: Place tile spacers between each tile to maintain even gaps for grouting.

Step 4: Cut Tiles and Add Grout

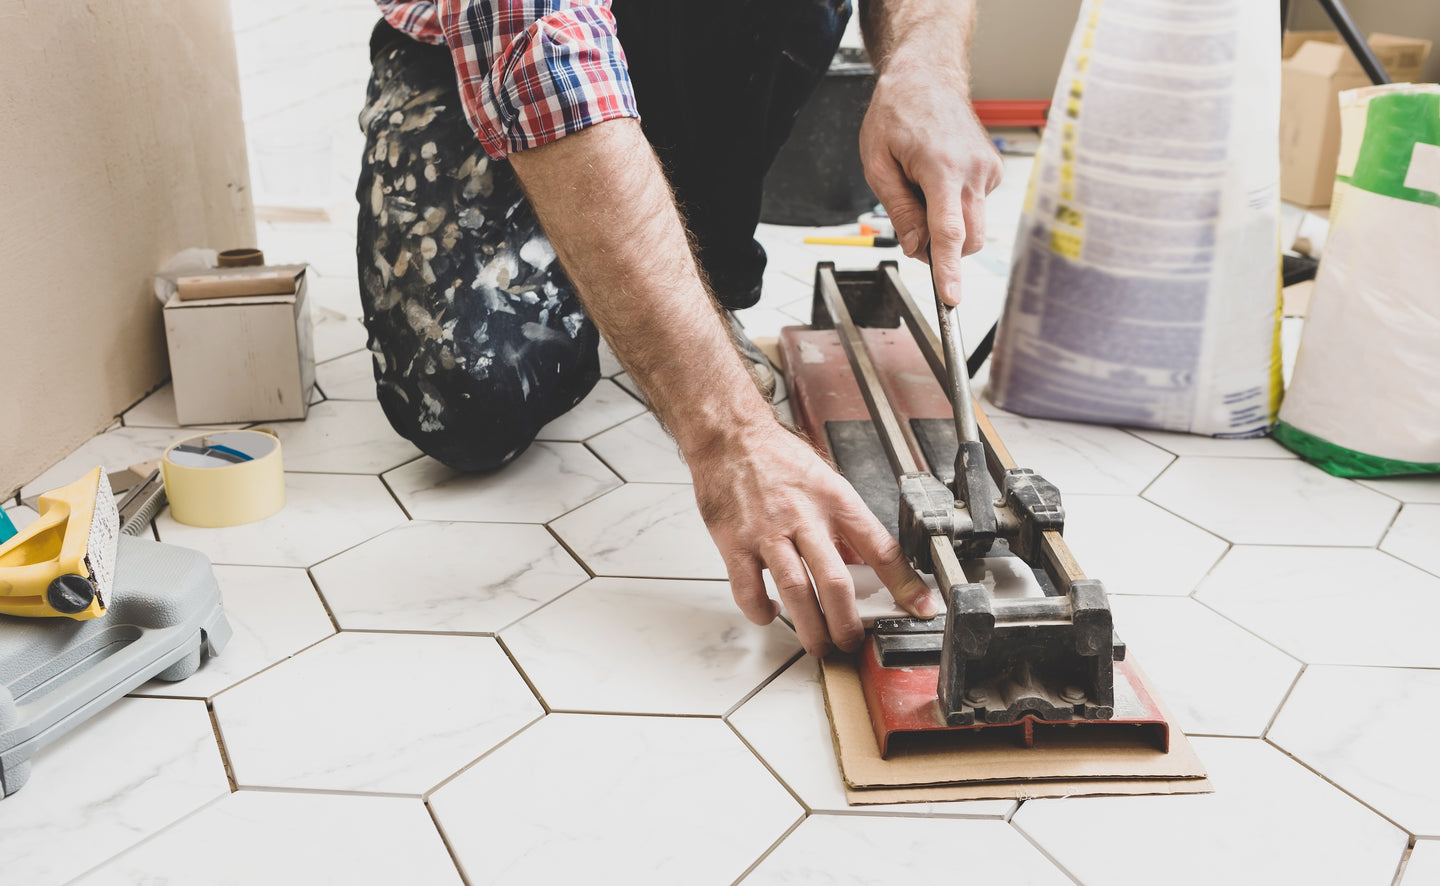
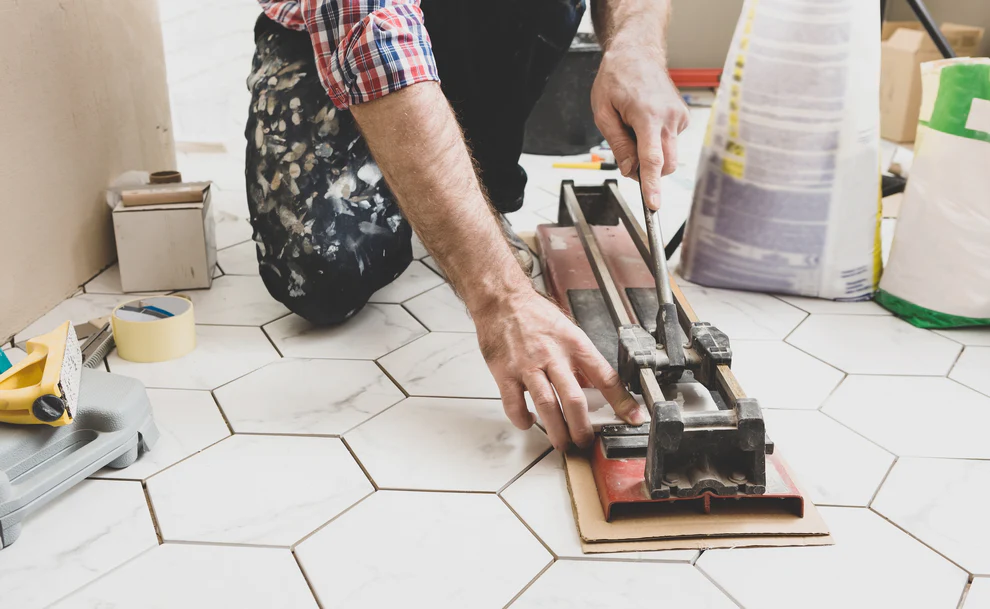
Cut to Fit: Use a tile cutter to trim tiles for edges, corners, or around obstacles like outlets.

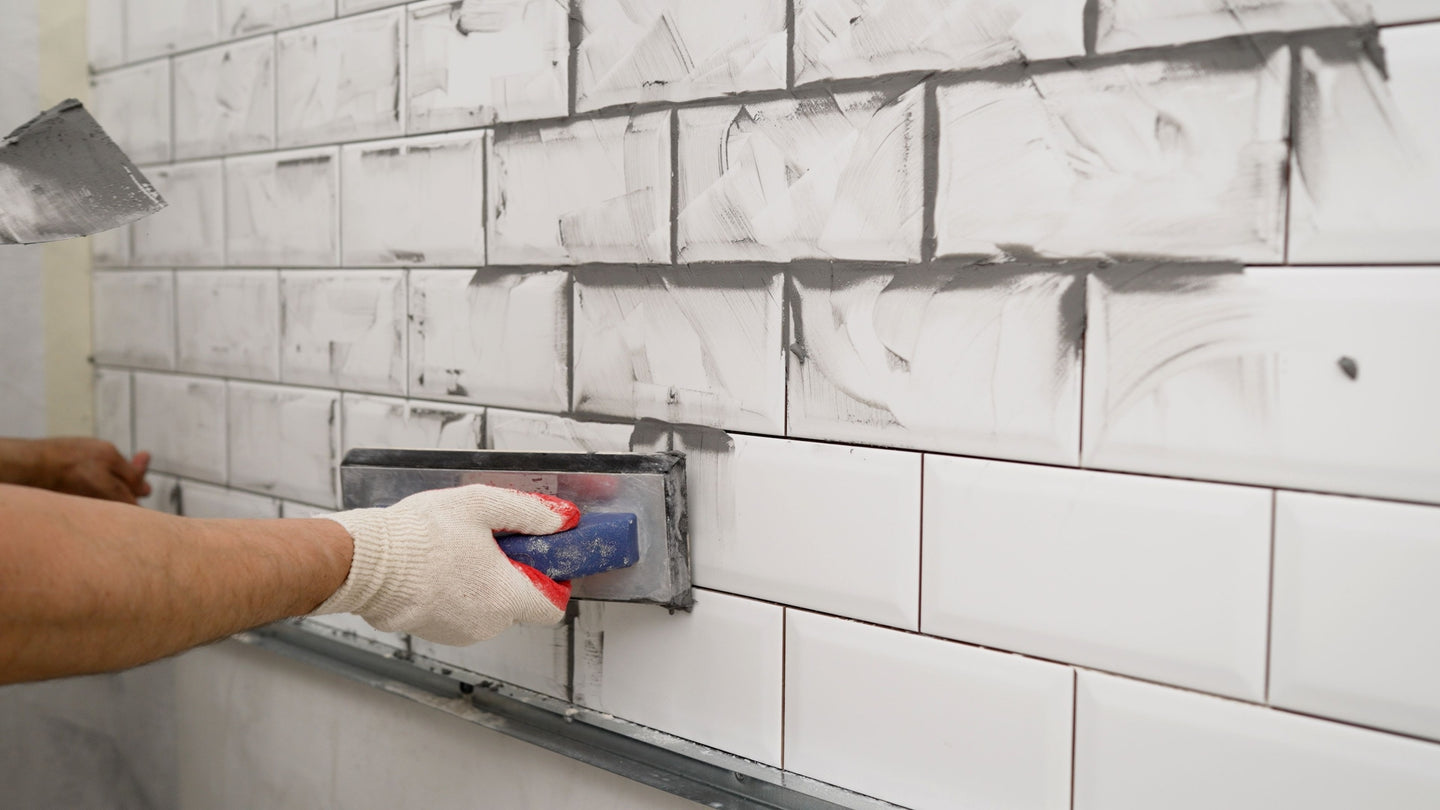
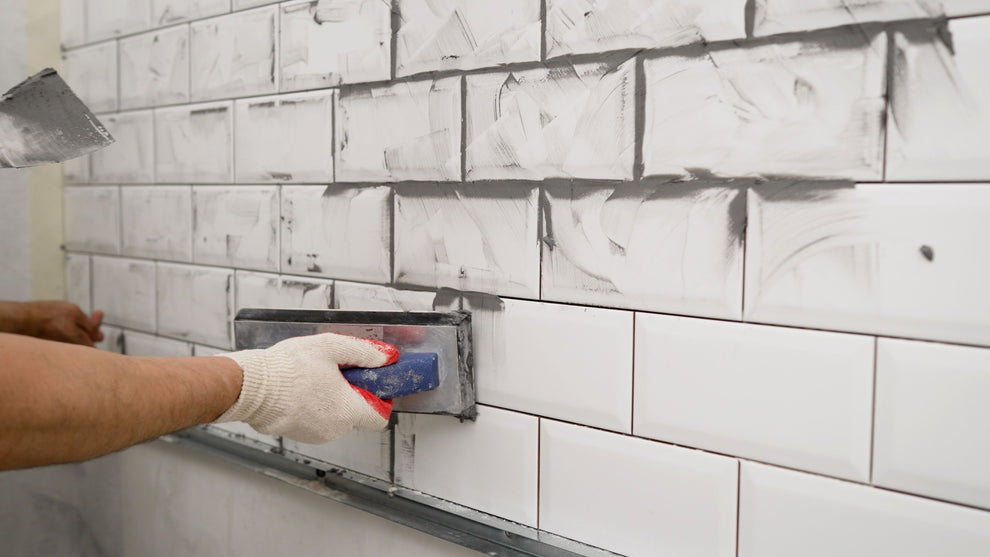
Apply Grout: Once the adhesive has dried (usually 24 hours), remove spacers and apply grout with a grout float. Clean Excess Grout: Wipe the tiles with a damp sponge before the grout hardens.Place your trim if you are using one.
Delivery & Returns

We aim to deliver Standard delivery service orders within three to five working days and Premium delivery within three working days.


We deliver to UK Mainland addresses (excluding some regions in Scotland including the Scottish Highlands & Islands). For any other UK locations please email helpdesk@tileflair.co.uk or call 0117 959 8891 to discuss delivery options available to you. UK mainland is defined as most parts of the island that comprises England, most of Scotland (excluding some areas in Scotland, Scottish Highlands & Islands) and Wales.


Once you have placed your order a member of our team will contact you to confirm your order and to arrange a kerbside delivery date that is convenient for you. If you require an urgent delivery, please email helpdesk@tileflair.co.uk or call 0117 959 8891 and we will accommodate you as best as possible.

If you are not in when delivery is attempted on the agreed date and there is no safe location for the delivery to be left then a redelivery charge of £30 will need to be paid before we can attempt to redeliver.

For insurance and health and safety reasons our delivery drivers cannot deliver goods into your property. Be ready to check your delivery against your order for any missing, damaged, or wrong items. If you receive any broken tiles which cannot be used for cuts, please contact the Helpdesk.


Collect From Store: Some orders may require a 1-3 day lead time in order for us to transfer the goods from one of our other locations. A member of our team will contact you once your order is ready to be collected. For more information please call 0117 959 8891.

How to

Do It Yourself

The thought is basically: put down adhesive, place tile, grout tile, seal grout. That’s it, no fuss no muss!

Step 1
Step 2
Step 3
Step 4

Prepare Your Surface

  • Clean the Surface Ensure the Surface is clean, smooth, and free from dust or grease.
  • Fix Imperfections: Fill any cracks or holes with a wall filler and let it dry completely.
  • Prime the Surface: For porous surfaces, apply a primer to ensure the adhesive sticks well.

Equipment Needed

  • Tile (enough to cover the square footage of room plus 10% for waste)
  • Thin-Set Mortar
  • Thin-Set or Grout Mixing Drill

Plan Your Layout

  • Measure and Mark: Measure the wall and mark a horizontal line at the base using a level. This will serve as your guide.
  • Dry Lay Tiles: Lay tiles on a flat surface to decide on the pattern and check if cuts are needed.
  • Plan for Cuts: Ensure that cut tiles are placed in less noticeable areas, like corners and the ends of walls and floors.


Apply Adhesive and Fix Tiles

  • Mix and Apply Adhesive: Use a notched trowel to spread tile adhesive on a small section of the wall.
  • Place Tiles: Start from the bottom centre and press tiles firmly into the adhesive.
  • Use Spacers: Place tile spacers between each tile to maintain even gaps for grouting.


Cut Tiles and Add Grout

  • Cut to Fit: Use a tile cutter to trim tiles for edges, corners, or around obstacles like outlets.
  • Apply Grout: Once the adhesive has dried (usually 24 hours), remove spacers and apply grout with a grout float.
  • Clean Excess Grout: Wipe the tiles with a damp sponge before the grout hardens.
  • Place your trim if you are using one.