Step 1: Prepare Your Surface.
Clean the Surface Ensure the Surface is clean, smooth, and free from dust or grease.
Fix Imperfections: Fill any cracks or holes with a wall filler and let it dry completely.
Prime the Surface: For porous surfaces, apply a primer to ensure the adhesive sticks well.
Step 2: Plan Your Layout
Measure and Mark: Measure the wall and mark a horizontal line at the base using a level. This will serve as your guide.
Dry Lay Tiles: Lay tiles on a flat surface to decide on the pattern and check if cuts are needed.
Plan for Cuts: Ensure that cut tiles are placed in less noticeable areas, like corners and the ends of walls and floors.
Step 3: 
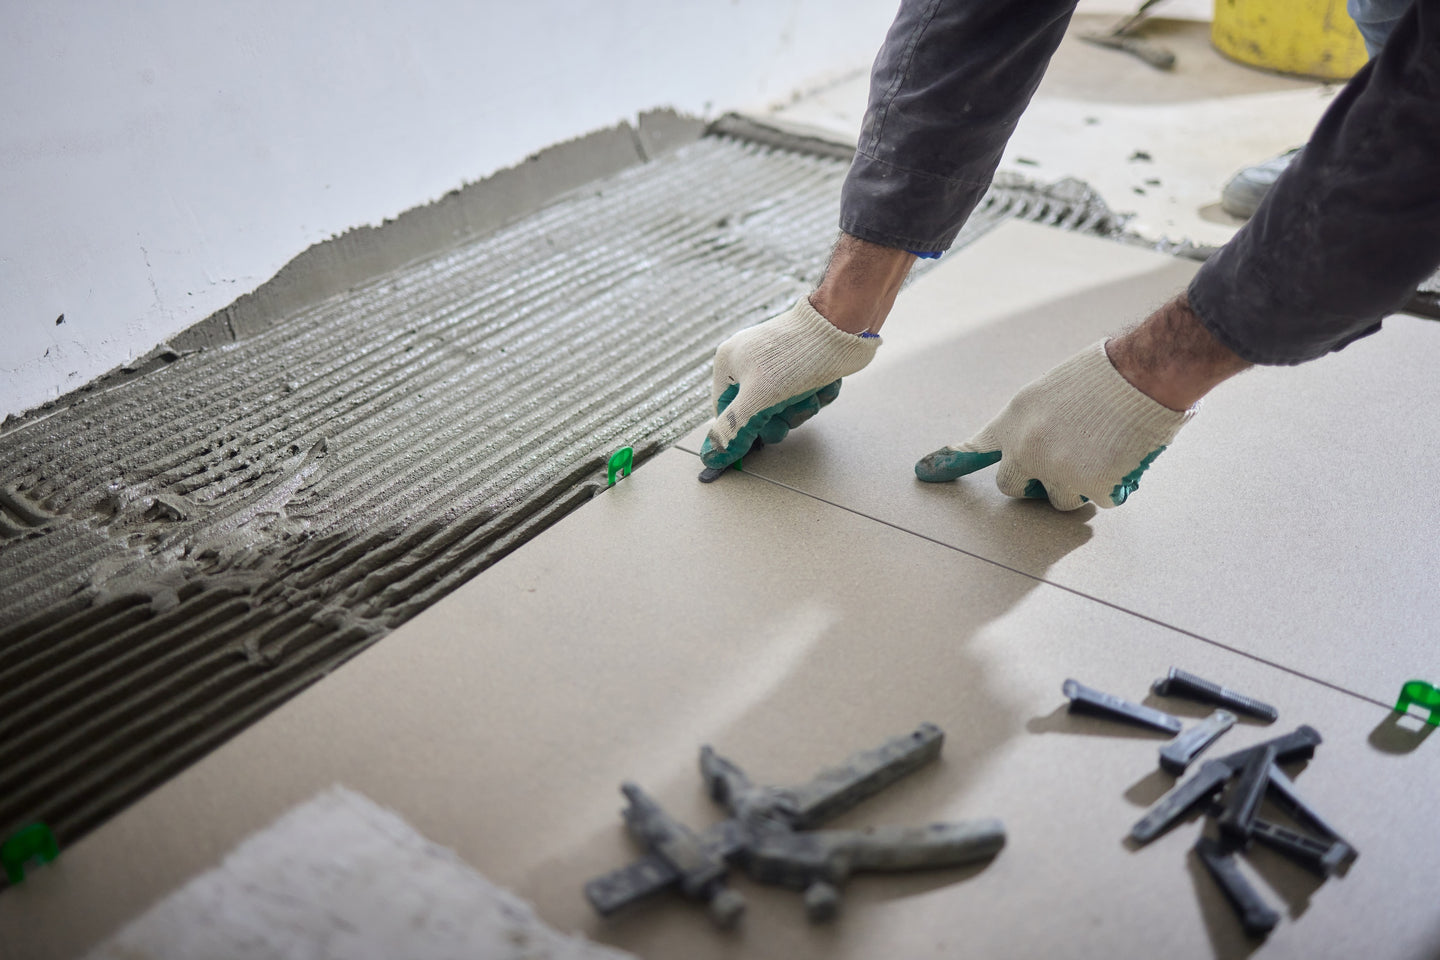
Apply Adhesive and Fix Tiles
Mix and Apply Adhesive: Use a notched trowel to spread tile adhesive on a small section of the wall.
Place Tiles: Start from the bottom centre and press tiles firmly into the adhesive.
Use Spacers: Place tile spacers between each tile to maintain even gaps for grouting.
Step 4: 
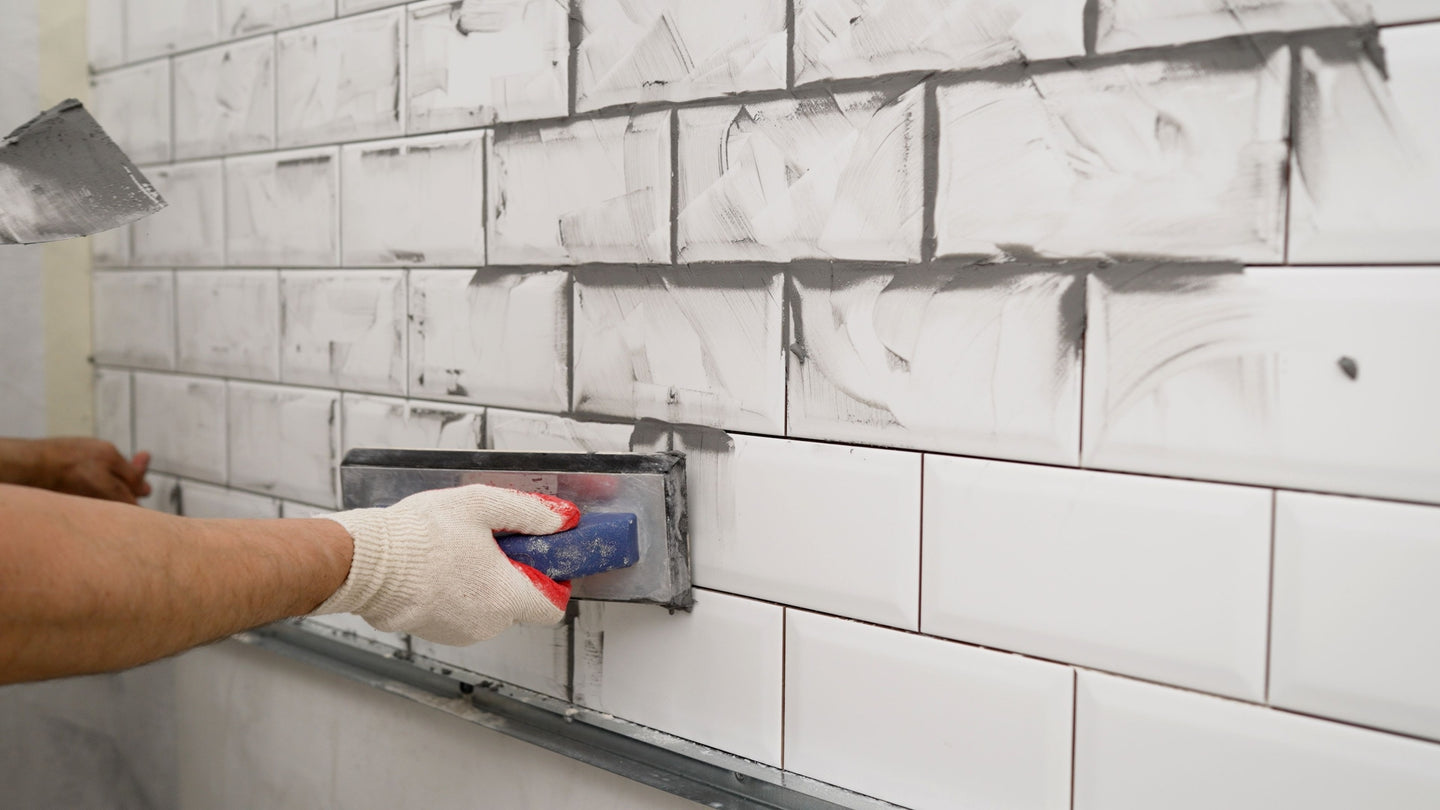
Cut Tiles and Add Grout
Cut to Fit: Use a tile cutter to trim tiles for edges, corners, or around obstacles like outlets.
Apply Grout: Once the adhesive has dried (usually 24 hours), remove spacers and apply grout with a grout float. Clean Excess Grout: Wipe the tiles with a damp sponge before the grout hardens.Place your trim if you are using one.